Photo By Letak Granit
Having beautiful and durable granite floors is a dream for many. In addition to enhancing aesthetics, granite is known for its high durability. However, to achieve the best results, proper installation is key.
This article provides a complete guide, from preparation to the final steps, to help you install granite in your home with a neat, professional finish.
Choosing the Right Type of Granite for Your Needs
When selecting the appropriate type of granite for your home, it's important to consider various factors that align with your needs. Pay attention to the placement areas, as each room has different requirements. For example, in areas with high traffic and friction, such as a garage, you can opt for rustic-patterned granite with a slightly rough texture.
Preparing the Essential Equipment
After determining the right granite type for your ideal home design, the next step is to prepare all the necessary equipment. Proper granite flooring installation requires precision and the right tools to achieve optimal results.
Some key tools you’ll need include precise measuring instruments such as a tape measure and a spirit level, a rubber mallet to gently tap the granite, tile cutters to cut the granite to size, and grouting tools to fill the gaps between each tile. The granite installation process will be more efficient with thorough preparation, leading to a clean and professional finish.
Clean the Granite Installation Area
The next step is to ensure that the surface to be covered with granite is completely clean and level. Proper granite flooring installation requires an ideal surface for a neat and durable finish. Before starting the installation process, ensure the area is free of dust, dirt, oil, or any substances that could interfere with the adhesive's bonding strength.
Also, check for cracks or small holes in the surface. If any damage is found, it should be repaired before proceeding with the correct granite installation.
Set and Install Guideline Lines
Guideline lines are essential in the granite installation process. They help determine the correct placement of each tile, ensuring a neat and precise final result. Typically, these lines are created using nylon string or twine, pulled tightly, and fixed to the wall or floor as a reference.
Prepare the Adhesive
Choosing the right adhesive is crucial for the strength and durability of the granite flooring installation. Unlike ceramic tiles, granite is denser and requires a stronger adhesive to bond it to the surface. The adhesive mixture for granite typically consists of a specific ratio of sand and cement. Alternatively, you can use ready-made instant cement for granite or specialized granite adhesive, which offers greater convenience.
Installing the Granite
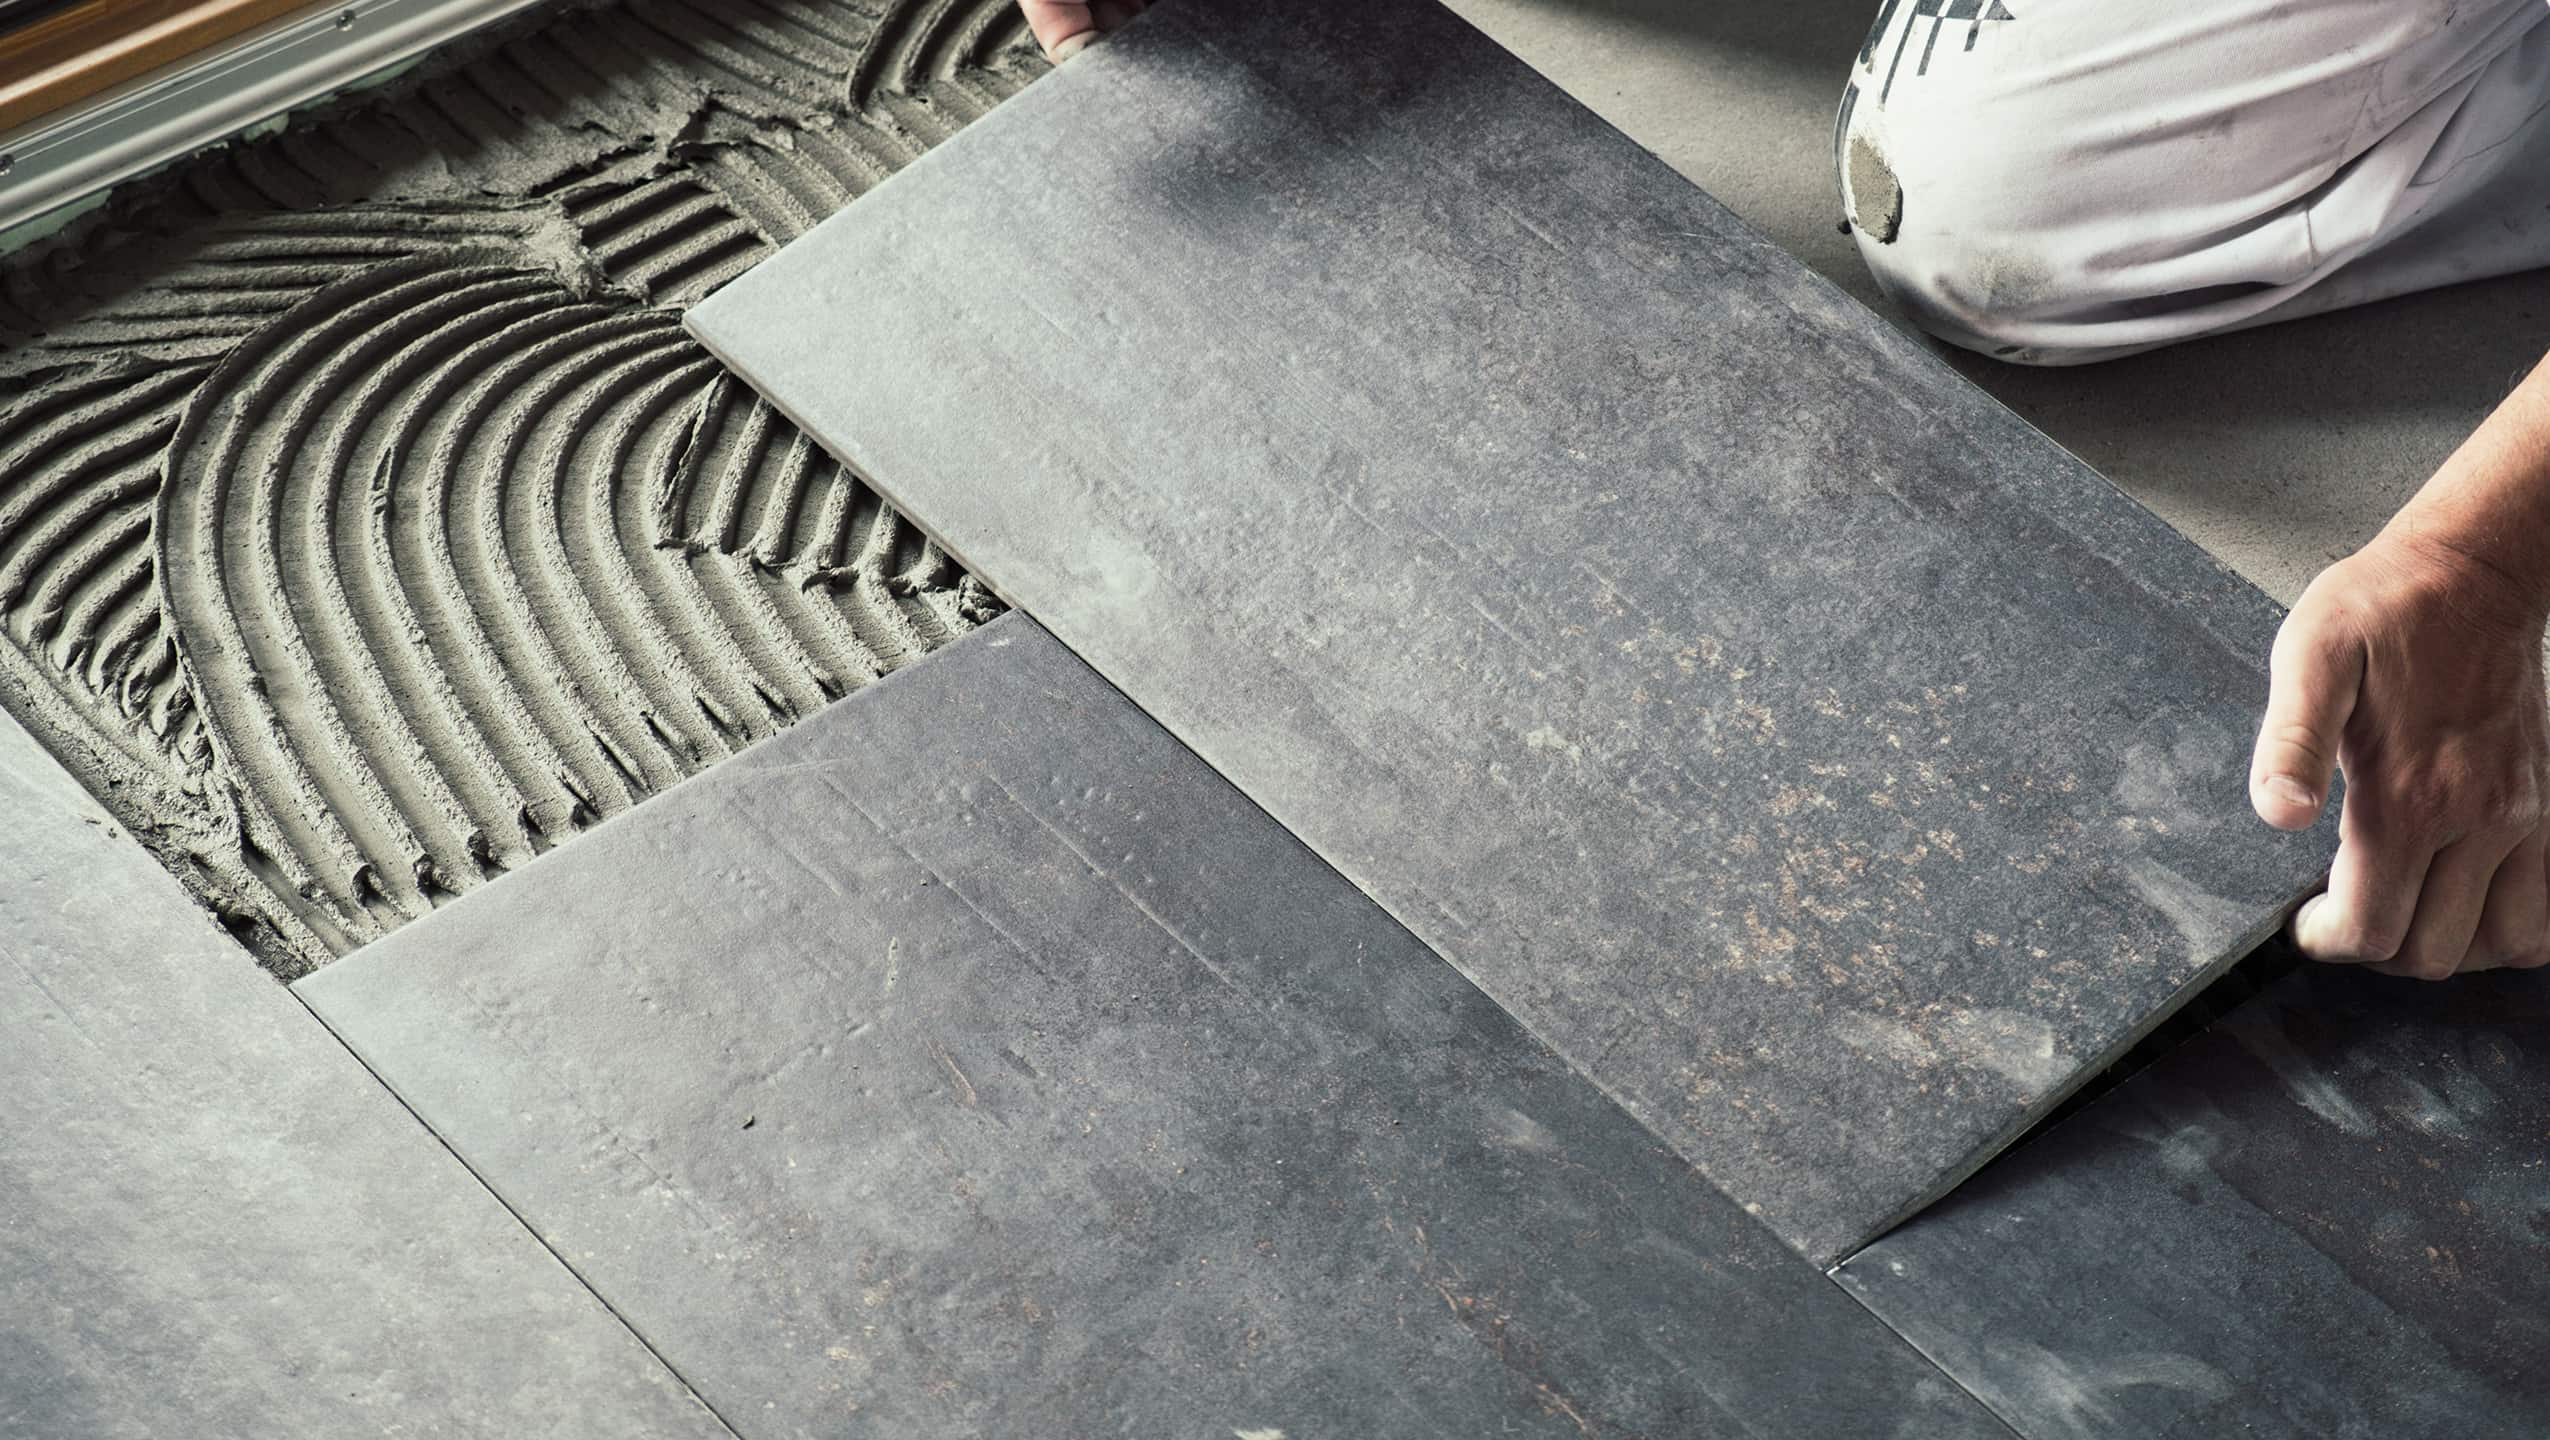
With all preparations complete, you can now begin the core process of installing the granite. Start by evenly spreading the adhesive mixture onto the floor area where the granite will be installed. Ensure the adhesive layer is uniform and not too thick, especially near doorways, to avoid interference when opening and closing doors.
Next, carefully place the granite sheet onto the leveled adhesive. Gently press the granite to ensure it bonds securely to the floor. If some adhesive oozes out from the gaps between the tiles when pressed, this is normal. The key is to ensure the granite is firmly and neatly attached.
To check if the granite is installed evenly, use a spirit level. Proper granite installation, whether 60x120 cm or 60x60 cm tiles, will produce a precise and neat floor if done carefully. Paying attention to every detail in the installation process will make achieving a satisfactory and long-lasting result easier.
Finishing
Finishing is the final stage of the granite flooring installation process. This step is crucial to ensure the granite's appearance is flawless and ready for use. Once all the granite tiles are installed and the grout between them has dried, it's time to clean off any remaining materials that may have adhered to the granite surface, such as sand, cement, or adhesive. Use a damp sponge or a soft cloth to thoroughly clean the surface, ensuring no stains or residue are left behind.
By following these steps, you can install granite on your own and achieve a beautiful, durable floor. Remember, choosing the right type of granite is essential for optimal results. If you’re looking for high-quality granite tiles that offer an elegant and luxurious look for your space, consider MAGIA Granite.
Popular Collections


